Christmas decor, pt. 1 ~ “NOEL” banner

Hello everyone! I hope your holiday season has been carrying on merrily.  We have these target stocking hooks that we put on our shelf/mantle every year, but unfortunately, they don’t really seem to hold any weight.  They work fine for empty stockings, but if you try to put anything in the stockings, they flip right off the shelf.  No good.  Anyway, I came up with another spot to hang the stockings, but I figured the hooks would work perfectly for hanging a banner on the shelf.

I enjoyed making my Thanksgiving banner, and with all the crafty materials I had laying around, including a lot of leftover twine from the last banner, I figured I’d try my hand at a christmas banner.  I might try something more involved in the coming Christmases, but for this year I thought I’d start with something short and simple – “NOEL”.  We also got a printer recently, so instead of stenciling letters, I took a much easier route…I made the banner on Adobe Illustrator and printed them on card stock.

(Sidenote:  Adobe Photoshop and Illustrator can be prohibitively expensive, at several hundred dollars a piece, but once you learn how to use them they are seemingly invaluable.  Luckily now you can get these programs and a bunch of others for a monthly subscription rate rather than paying the full amour for creative suite which is like, a couple thousand bucks….totally worth it in my opinion!).

IMG_7046

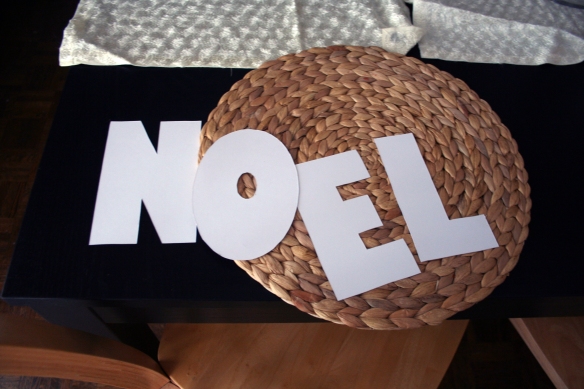
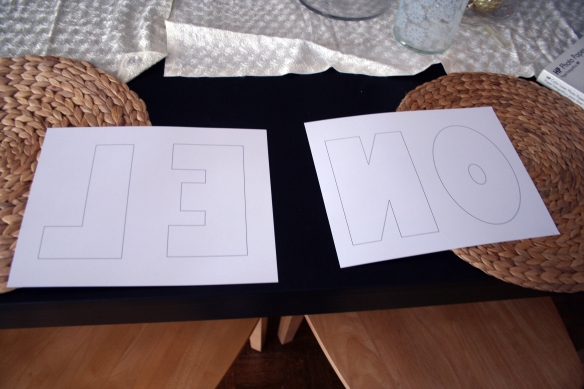
I didn’t want the outline to show through so I did a mirror image of the text.  I chose Gill Sans Ultra Bold as my font – I was trying to keep it simple with some thick, block letter text.

IMG_7047

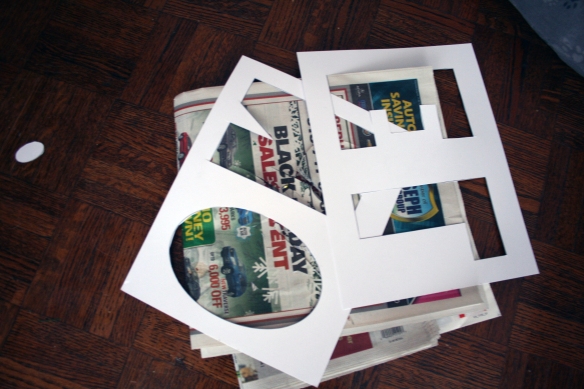
My cutting mat is nowhere to be found so I used a stack of newspaper.  I cut out the letters with an X-acto knife.  Scissors would work, too, but the X-acto knife is MUCH easier.  BAM – there you have it…NOEL! 🙂

IMG_7048

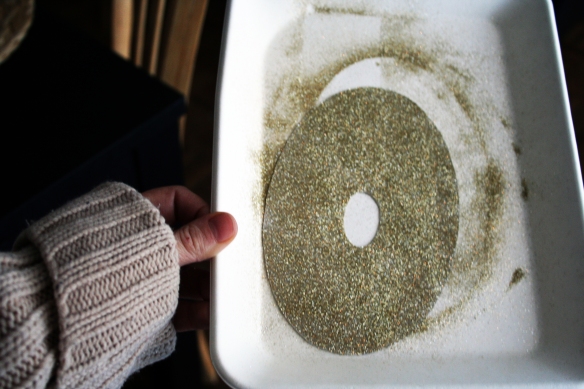
Then, yes, I cannot seem to get away from glitter – I decided to try my hand at glitter once again.  I sprayed each letter with spray adhesive, let the adhesive get tacky for exactly 2 minutes, and then i covered the letter with glitter.  I tapped the bottom of the tray all over the place until the letter was evenly coated with glitter.  DO NOT touch it! It will totally make it smudged and horrible looking.  I learned this the hard way.

IMG_7051

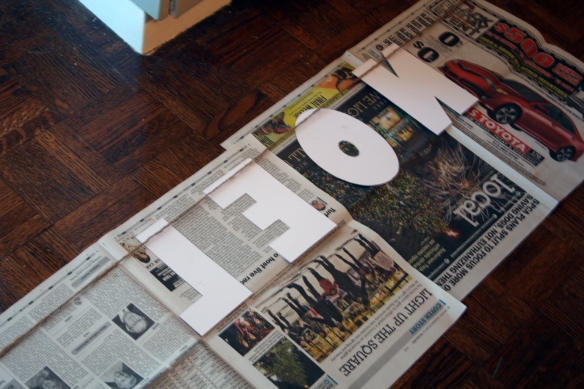
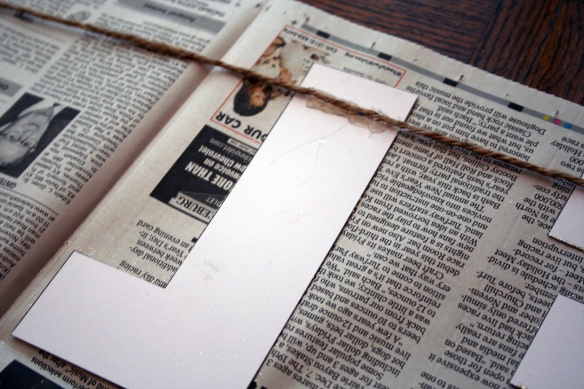
After they dried, I flipped the letters over on some newspaper and lined them evenly with the twine.

IMG_7054

Then, I took a glue gun and put glue around the entirely of the twine to hold it on…
IMG_7056

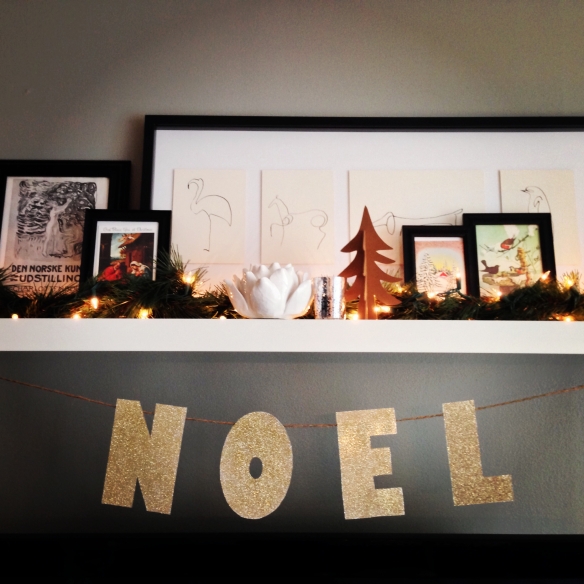
IMG_3417There you have it!! I think the letters could use some dimension, and maybe next year I will do a different word/words, different font, or add some extra layers or other trim, but for now, this is a good first try! 🙂

end table before and after…finally!


Hello! I hope everyone had a wonderful Labor Day weekend!!!  So, I finally completed a project that I have been wanting to finish for YEARS.  Life and indecisiveness got in the way I guess.  Also, I don’t have a covered outdoor area to use for fume-y paint projects, so every time the weather is rainy (or looks like it might be), or is too hold or too cold, I can’t paint outside.  You’d be surprised how rare it is to have a definite nice/mild/paint-friendly day to do projects outdoors in Ohio!

Enough excuses for that – the project is a re-paint of an end table my parents bought when they first got married.  This end table was part of a set with another end table and a coffee table, but unfortunately this one table is all that is left at this point. They got the tables at a Sears furniture outlet way back in 1970 – I do not know if there’s a particular style or pattern name associated with it, but I do love the diamond pattern on the drawer.  When they got them, they were missing the tops – glass, marble, whatever they were supposed to be – and so my parents made do with a couple of ill-fitting scraps of too-tall, unattractive marble.

I don’t think these tables survived the 70’s, because as long as I can remember, they sat in the back of our basement, dusty and unused.  When I moved out in 2006, I took the one remaining table with me and resolved to salvage it. Forgive the crappy before picture – it’s all I got.

The top of the table was pretty worn, and the real wood frame and plastic drawer didn’t look the best together.  The brass hardware is cool, too, although it was very tarnished and dirty.  After a whole lot of scrubbing, I decided it would be best to paint the table and the hardware, and figure out something for the tabletop.  I used Rustoleum oil-base enamel in high-gloss black.  I did one coat, sanded with a very find sanding block, and did one more coat.  I can only recommend a very good paint brush for this paint – the foam brush made bubbles, and the cheap brush left bristles in the paint.  Not good! After that, I coated it with one coat of Min-Wax Wipe-On Poly(urethane) and it was good to go!

I also spent a very long time scrubbing the hardware, and while it did get 90% clean, it just wasn’t quite as bright and shiny as I wanted it to be.  I used a spray can of Rustoleum  metal primer and one coat of Rustoleum metallic gold paint on the handles and that seemed to work pretty well.

My biggest problem was figuring out what to do with the tabletop.  I knew I could get another piece of more attractive marble cut, but at 2′ by 2′ I didn’t want to pay that much.  Then I thought about glass, but that didn’t solve what I would do about the fact that you could see into the drawer.  I thought about doing a frosted glass, but that didn’t really fit the style of my living room or the table.  Finally, I decided it would be best to get some sort of patterned paper or fabric to put underneath the glass.  I searched far and wide on fabric and wallpaper websites for a good pattern.  A did see a lot of wallpaper patterns that fit the bill, but they were all sold by the roll, and at at least $80 a roll or higher, that wouldn’t work for my cheap table re-do.  Finally I found a pattern at Premier Prints.

The pattern I decided on is Barber in Black and Gypsy Blue.  I wanted a high contrast pattern at a scale that fit with the table and the room (many fabrics patterns I liked were too small in scale).  This pattern was perfect.  It had the high contrast black and white, and the grey-blue on the parrot matched perfectly with the blue in my living room.  I am also a huge fan of birds (I have two), so it really sold me.

I needed a way to attach the fabric, and that was the toughest thing to figure out.  I got a piece of glass from the local glass shop for $24, and had a remaining 1/2″ or so in depth so that the glass would be flush with the table top rim.  I couldn’t find a piece of plywood at the hardware store – every piece was either just a little too thin or too thick.  I thought about using foam core board (I could since the glass itself was appropriate for holding the weight of whatever was on the table by itself), but I was worried that the foam core might sag over time.  Before I could give that a try, my boyfriend suggested using alumalite.  We got a scrap piece from his dad’s sign shop – it is like foamcore – except instead of two posterboards and foam, its two thin pieces of aluminum with corrugated plastic in the middle.  The right thickness and very sturdy.

I trimmed the fabric and attached it to the alumalite with Krylon Easy-Tack Repositionable Spray Adhesive.  Since I needed just enough tack to keep the fabric smooth on the panel, I went with the lowest-tack adhesive I could find.  I want to be able to pull this fabric off in the future and change things up should my decor change.

So that’s that! It took me over a year to do what should have been MAYBE two days’ worth of work.  The paint and poly for everything was less than $30 total (and I have used it on some other projects too), the fabric was $10 for one yard, and the glass was $25.  So, the table cost me no more than $65 total.

I Have Returned!!!…….. and DIY Jewelry

Hello! I hope everyone had a great summer. Given that I did not take any summer classes and was only working full-time, I anticipated that I would be posting more often – obviously the opposite has happened!  I tried to enjoy my nights and weekends off, which meant swearing off spending any time on the computer as much as possible outside of my job, except to at least keep up with what was happening elsewhere on the blogs.  Well, school started again and I have been reading for my classes today, so lo and behold, it’s an appropriate time to break from that and post something!

Anyway………one trend I like lately is the trend toward wearing multiple bracelets – a mixture of watches, wrap bracelets, metal links, etc. One type of bracelet I like in particular is the leather wrap bracelet, a trend that seems to have been made popular by the Chan Luu.

Chan Luu Gold Vermeil And Silver Bead Brown Leather Wrap Bracelet

Chan Luu Nugget Wrap Bracelet: Beige

Max & Chloe Waxing Poetic Circe Leather Wrap Bracelet with Ring in Buff

Presh Crystal Rhinestone Multi-Chain Eggshell Leather Wrap Bracelet

I saw this tutorial on the blog Honestly WTF and gave it a go, except I replaced the hex nut with a lobster clasp.  It was really quick and easy and I would like to try it with a strand of rhinestone beads as well.  I happened to have the ball chain lying around from when I bought the wrong color chain to extend my celing fan string.  All in all, the raw materials came in at $6.41 including tax and it took about 15 minutes.  It’s not quite as fancy as the Chan Luu ones, but considering that they come in at $200, I can’t complain!

Since I have a few leftover materials – lobster clasps, extra ball chain, etc. from this, I think I may try a few more.